Audi Q7: Tires with Emergency Running Characteristics, Seal Inside-Technology
 Caution
It is mandatory for run-flat tires to have a tire pressure monitoring system in the vehicle.
Examining and replacing the seal inside tires should only be performed by trained personnel.
 Note
Note
- The seal inside technology makes it possible to continue driving without losing pressure, even when the tire is damaged due to external effects.
- When installing seal inside tires no special rims are required. You can install them on the same rims as standard tires or other tires with emergency running characteristics, except for on the rims for PAX tires.
- It is not recommended that seal inside tires are mixed with standard tires or other tires with emergency running characteristics.
- Seal inside tires are stored in the same conditions as standard tires or tires with emergency running characteristics.
Installing a Seal Inside Tire
 Caution
It is mandatory for run-flat tires to have a tire pressure monitoring system in the vehicle.
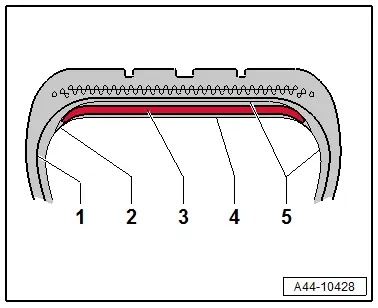
1 - Shell
2 - Band Edge
3 - Run-Flat Tires
Coat of sealing material only on the inside of the tread
4 - Nylon Coat
5 - Top Layer
Seal Inside Tire Function
 Caution
It is mandatory for run-flat tires to have a tire pressure monitoring system in the vehicle.
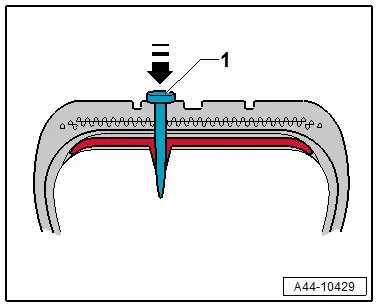
Inside the tread of the tire is a coat of sealing material. This prevents a loss of pressure when the shell is damaged. Not depending on if the object which damaged the tire is still in the tire.
Step 1:
An object is driven into the tread. The sealant adheres to the object.
The sealant reacts to the damage and closes the hole.
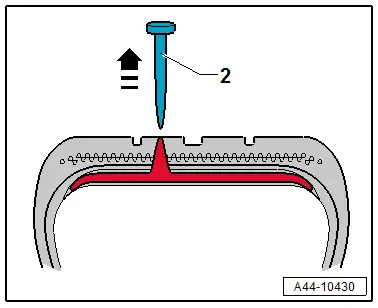
Step 2:
The object is removed from the tread.
The sealant is pulled via the object into the hole, when the object is removed from the tread.
This way the hole is closed by the sealant.
 Caution
The seal inside technology does not guarantee a repair of the tire after damage.
Unlike run flat tires seal inside tires cannot be driven with low air pressure or flat.
Tires with Emergency Running Characteristics, Repairing
General Information
 Caution
Examining damaged tires should only be performed by trained personnel.
 WARNING
- Run-flat tires must be replaced after they have gone flat.
- Pay close attention to the installation instructions.
- The wheel must be inspected before mounting, as with conventional wheel/tire systems.
- The wheels should be checked for damage after a flat tire (true running, axial run-out, other damage) because the wheel could be damaged in an emergency by driving through a pothole.
- A damaged wheel should be replaced.
 Note
Note
- Flat tire sprays may be used on tires with emergency running characteristics (SST).
- Tires must be replaced after running flat.
- Observe the manufacturer mounting instructions.
Special Tools
Special tools and workshop equipment required
- Trim Removal Wedge -3409-
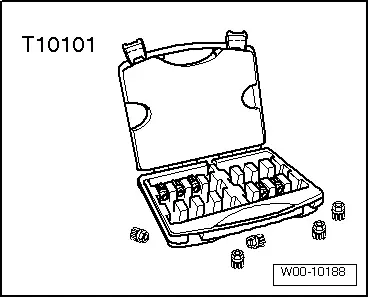
- Wheel Lock Set -T10101-

- Wheel Lock Set -T10101A-
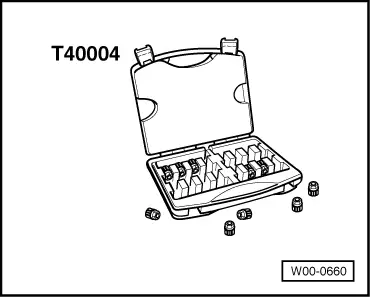
- Wheel Lock Set -T40004-
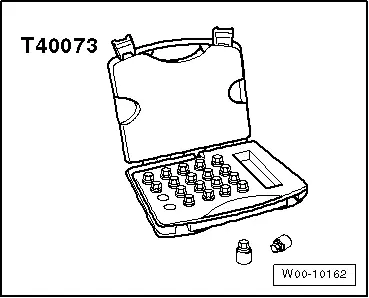
- Wheel Lock Set -T40073-
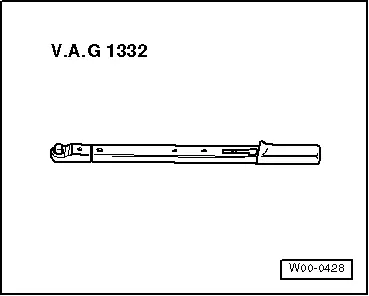
- Torque Wrench 1332 40-200Nm -VAG1332-
- Torque Wrench 1410 -VAG1410-

- Hot Air Blower -VAG1416-

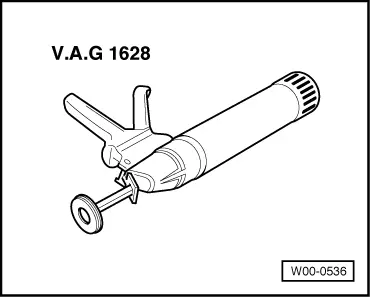
- Cartridge Gun -VAG1628-
- Wheel Centering System Adapter -VAS5271-
- Hunter RFT33VAG Road Force Touch Wheel Balancer -VAS6230B4-
- Wheel Balancer Clamping Adapter - 5 Lug -VAS6243-
- Tension Plate -VAS6652-
- Pressure Bolt -VAS6652/1-
Revision History
DRUCK NUMBER: A00ARRA0021