Audi Q7: Rear Seat Backrest Locking Mechanism, Removing and Installing
Rear Seat Backrest Locking Mechanism, Removing and Installing, Outer Second Row Seat
Removing
- Fold the backrest forward.
- Seat High: fold the seat forward.
- Remove the tunnel-side seat side trim. Refer to → Chapter "Seat Side Trim on Tunnel Side, Removing and Installing, Outer Second Row Seat".
- Remove the seat side trim on side sill side. Refer to → Chapter "Seat Side Trim on Side Sill Side, Removing and Installing, Outer Second Row Seat".
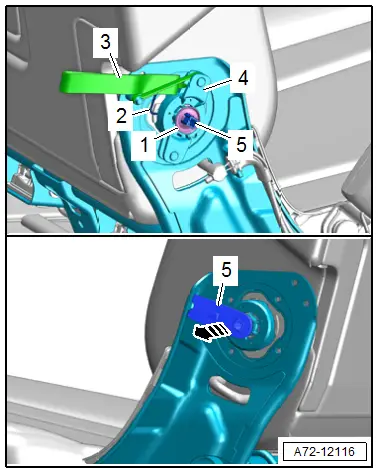
- Destroy the lock washer -1- and remove it.
- Label the installation position of the spiral spring -2-.
- Disengage the pull loop -3- from the release handle -4-.
 Note
Note
If necessary, deburr the backrest release shaft near the lock washer.
- Slide the backrest release shaft -5- through to the opposite side -arrow-.
Installing
Install in reverse order of removal.
Installation notes, for example tightening specifications, replacing components. Refer to → Chapter "Overview - Rear Seat Backrest, Second Row Backrest without Center Armrest".
Rear Seat Backrest Locking Mechanism, Removing and Installing, Center Second Row Seat
Removing
- Seat High: fold the outer seats forward.
- Seat Low: remove the seat. Refer to → Chapter "Seat Low, Removing and Installing, Center Second Row".
- Remove the seat side trim. Refer to → Chapter "Seat Side Trim, Removing and Installing, Center Second Row Seat".
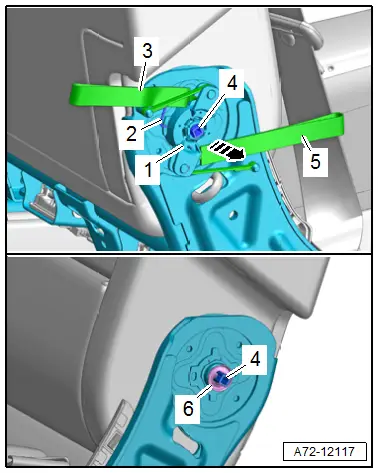
- Destroy the lock washer -6- and remove it.
- Label the installation position of the spiral spring -2-.
- Disengage the pull loops -3 and 5-.
 Note
Note
If necessary, deburr the backrest release shaft near the lock washer.
- Slide the backrest release shaft -4- with the release lever -1- through to the opposite side in direction of -arrow-.
Installing
Install in reverse order of removal.
Installation notes, for example tightening specifications, replacing components. Refer to → Chapter "Overview - Rear Seat Backrest, Second Row Backrest with Center Armrest".
Center Armrest, Removing and Installing
Center Armrest Trim, Removing and Installing
Special tools and workshop equipment required
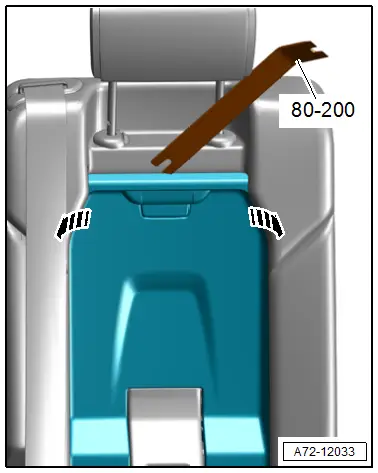
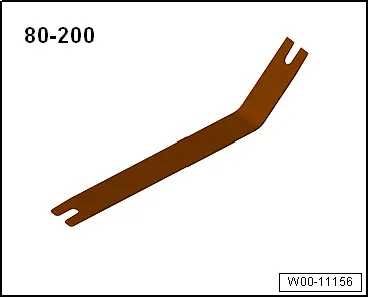
- Pry Lever -80-200-
Removing
- Move the headrest all the way up.
- Flip up the center armrest.
- Set the - 80-200- at the top behind the trim and remove the trim from the seat in direction of -arrows-.
Installing
Install in reverse order of removal and note the following:
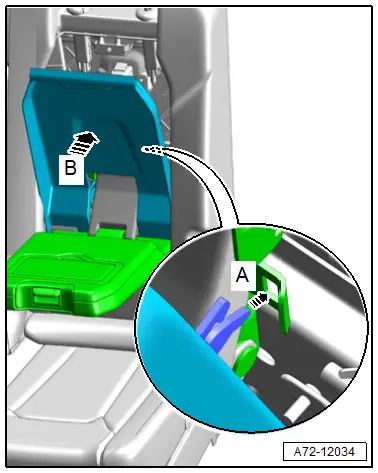
- Carefully place both rear guides on the trim into the holes on the center armrest hinge in direction of -arrow A-.
- Guide the trim carefully toward the seat and press on at the top in direction of -arrow B- until it engages audibly.
Installation notes, for example tightening specifications, replacing components. Refer to → Chapter "Overview - Rear Seat Backrest, Second Row Backrest with Center Armrest".
Center Armrest, Removing and Installing
Removing
- Remove the trim from the center armrest. Refer to → Chapter "Center Armrest Trim, Removing and Installing".
- Remove the bolts -1, 2 and 3- and remove the center armrest.
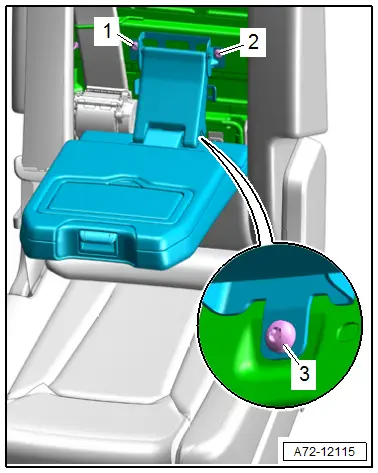
 Note
Note
The bolt -3- is accessible through the gap between the seat cushion and the lower edge of the center armrest when the center armrest is partially closed.
Installing
Install in reverse order of removal.
Installation notes, for example tightening specifications, replacing components. Refer to → Chapter "Overview - Rear Seat Backrest, Second Row Backrest with Center Armrest".
Cupholder, Removing and Installing
Removing
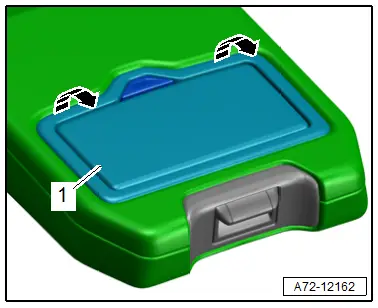
- Flip up the center armrest.
- Grip the cupholder -1- at the positions shown in the image in direction of -arrows- and pull upward.
Installing
Install in reverse order of removal.
Installation notes, for example tightening specifications, replacing components. Refer to → Chapter "Overview - Rear Seat Backrest, Second Row Backrest with Center Armrest".
Special Tools
Special tools and workshop equipment required
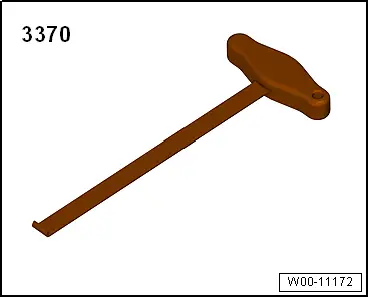
- Backrest Panel Tool -3370-
- Pry Lever -80-200-
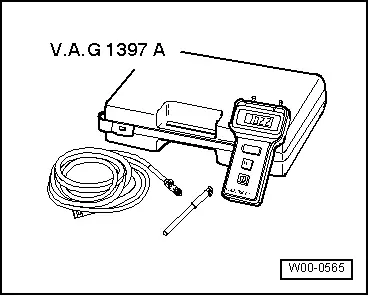
- Turbocharger Tester Kit -VAG1397A-
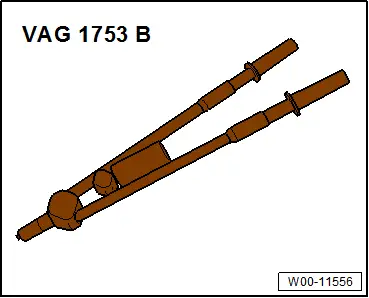
- Pop Rivet Pliers -VAG1753B-
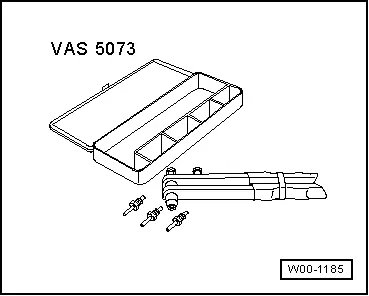
- Pop Rivet Nut Pliers -VAS5073A-
- Pneumatic Repair Set -VAS6618 A-
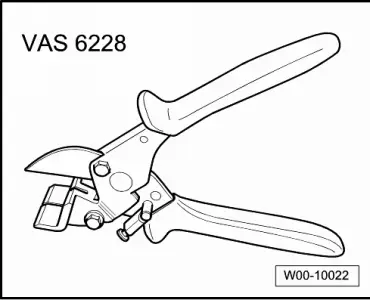
- Hose Cutting Pliers -VAS6228-
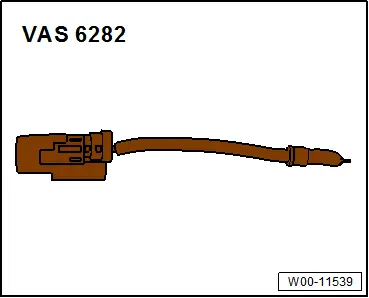
- Airbag Lockout Adapter -VAS6282-
- Universal Vehicle Protector -VAS871001-, not illustrated
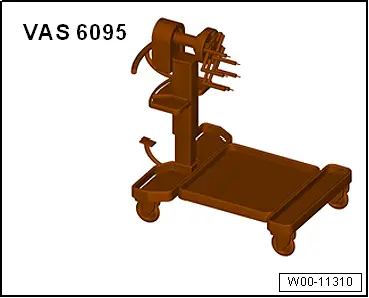
- Engine and Gearbox Bracket -VAS6095A-
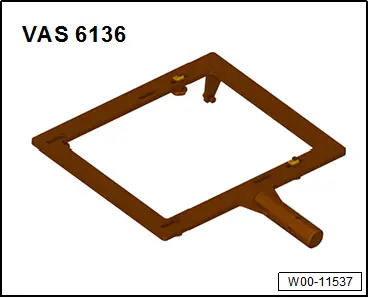
- Engine/Transmission Holder - Seat Repair Fixture -VAS6136-
- Airbag Lockout Adapter -VAS6282-
- Universal Vehicle Protector -VAS871001-
- Vehicle Diagnostic Tester

- Trim Removal Wedge -3409-
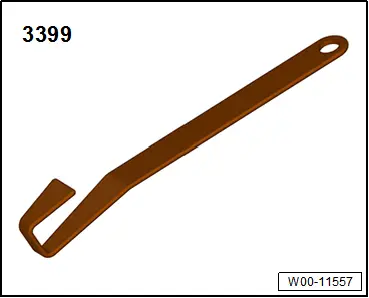
- Assembly Tool -3399-
- Mini-grinder, commercially available
- Protective Eyewear
- Hand drill
- Protective Eyewear