Audi Q7: Closing Assist Motor, Removing and Installing
Removing
- Remove the rear door trim panel. Refer to → Body Interior; Rep. Gr.70; Rear Door Trim Panels; Rear Door Trim Panel, Removing and Installing.
- Disconnect the connector -3-.
- Release the catch -arrow A- on the cable -2- downward from the support bracket -arrow B-.
- Disengage the cable on the closing assist motor -1-.
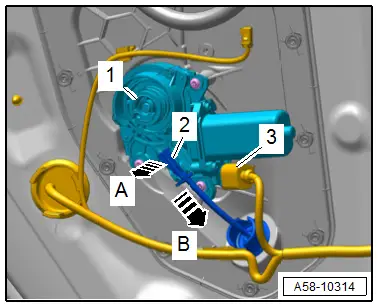
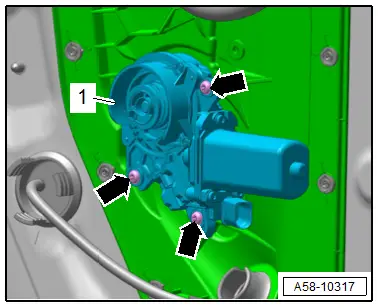
- Remove the bolts -arrows- and the closing assist motor -1-.
Installing
Install in reverse order of removal and note the following:
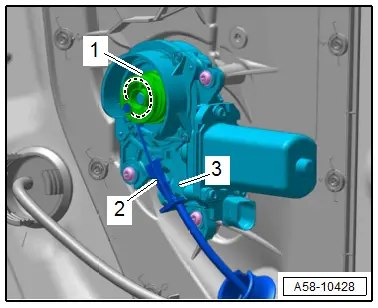
- Wind the cable -2- on the closing assist motor -1- and engage on the support bracket -3- until it clicks into place.
Tightening Specifications
- Refer to → Chapter "Overview - Door Lock and Striker, Versions with Closing Assist"
Window Guide, Removing and Installing
Removing
- Remove the window frame trim panel. Refer to → Body Interior; Rep. Gr.70; Rear Door Trim Panels; Window Frame Trim Panel, Removing and Installing.
- Remove the rear door window. Refer to → Chapter "Rear Door Window, Removing and Installing".
- Remove the C-pillar trim. Refer to → Chapter "Door C-Pillar Trim, Removing and Installing".
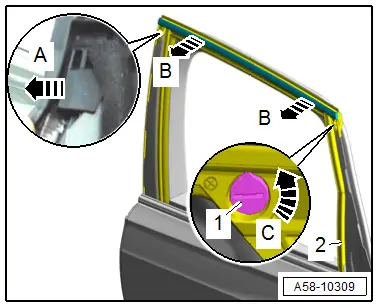
- Remove the window guide -2- from the guide rail.
- Turn the clip -1- 90º counter-clockwise -arrow C - and remove.
- Starting at the rear remove from the window guide toward the rear from the door flange -B arrows- and toward the rear from the guide -arrow A-.
Installing
- Engage the window guide -2- on the front door flange -arrow A-.
- Starting at the front push the window guide on the door flange -B arrows- and then in the guide of the guide rail.
- Insert the clip -1- and secure, to do so turn 90º clockwise -arrow C-.
- The tab of the clip points toward the rear.
Further installation is the reverse order of removal.

Door Window Guide Rail, Removing and Installing
Removing
- Move the door window into the "open" position.
- Remove the window frame trim panel. Refer to → Body Interior; Rep. Gr.70; Rear Door Trim Panels; Window Frame Trim Panel, Removing and Installing.
- Remove the door inner cover. Refer to → Chapter "Door Inner Cover, Removing and Installing".
- Remove the window regulator motor. Refer to → Chapter "Window Regulator Motor, Removing and Installing".
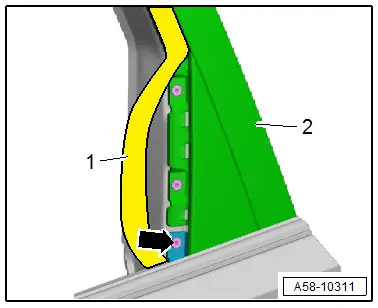
- Pull the window guide -1- away from the C-pillar trim -2- slightly.
- Remove the upper bolt -arrow- for the guide rail and push the window guide in the guide of the C-pillar trim.
- Move the door window into the "closed" position.
- Remove the window guide -2- from the guide rail -1-.
- Remove the bolt -arrow- and the guide rail downward.

Installing
Install in reverse order of removal.
Tightening Specifications
- Refer to → Chapter "Overview - Window Guides and Window Shaft Strips"
Inner Window Shaft Strip, Removing and Installing
Removing
- Remove the window frame trim panel. Refer to → Body Interior; Rep. Gr.70; Rear Door Trim Panels; Window Frame Trim Panel, Removing and Installing.
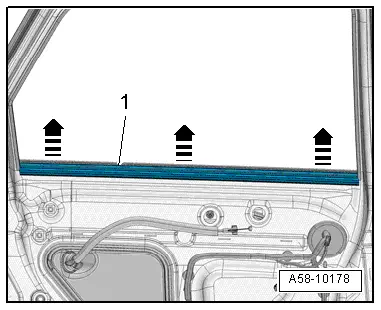
- Remove the window shaft strip -1- upward -arrows-.
Installing
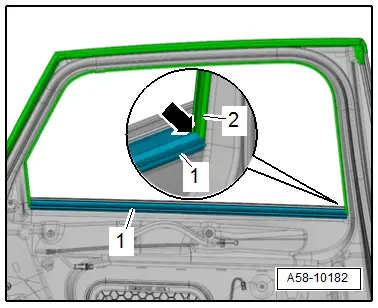
- Position the window shaft strip -1- on the window guide edge -2- at both ends -arrow- and press to the center of the door fold.
Further installation is the reverse order of removal.
Outer Window Shaft Strip, Removing and Installing
Special tools and workshop equipment required
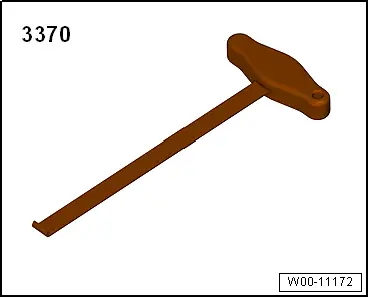
- Backrest Panel Tool -3370-
Removing
- Move the door window into the "open" position.
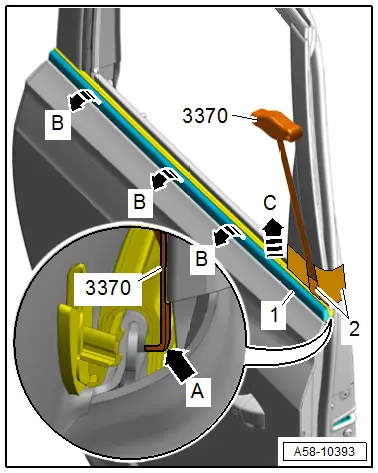
- To prevent damage, tape off the -3370- and the C-pillar trim with adhesive tape -2-.
- Guide the -3370- from behind in the window shaft strip -arrow A-.
- Remove the window shaft strip with the -3370- carefully in the rear area upward from the door flange -arrow C-.
- Remove the window shaft strip with both hands to the B-pillar from the door flange -B arrows-.
Installing
 Note
Note
The lower edge of the window shaft strip can be coated with tire mounting paste for installation.
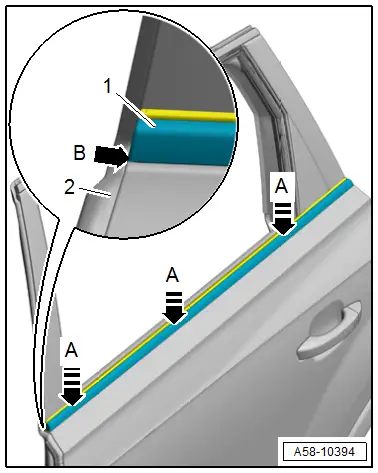
- Align the window shaft strip -1- flush to the door body -2--arrow B- and to the C-pillar and place fully on the door flange -A arrows-.
Further installation is the reverse order of removal.
Special Tools
Special tools and workshop equipment required
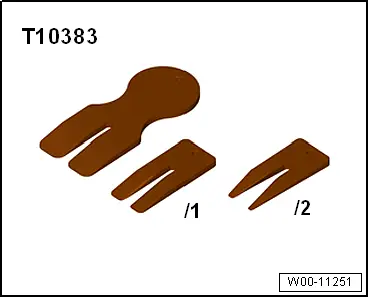
- Wedge Set -T10383-
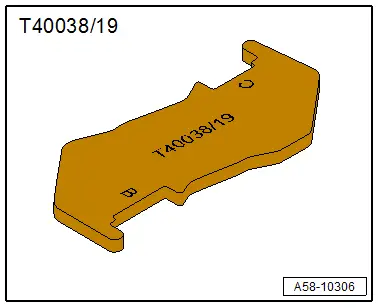
- Template -T40038/19-
- Adhesive Strip Remover -VAS6349-

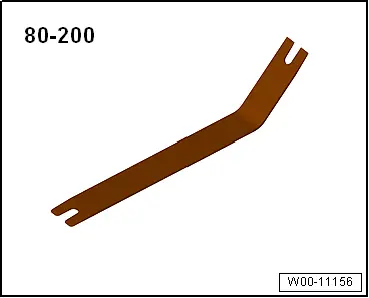
- Pry Lever -80-200-
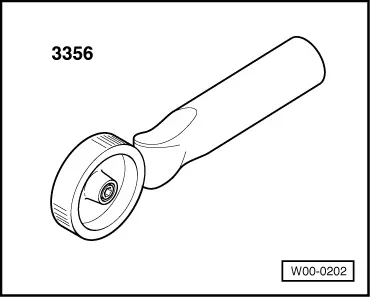
- Roller -3356-
- Backrest Panel Tool -3370-
- Gauge - Gap Adjustment -3371-